How to Build a Lean-To Shed: Quick and Affordable Outdoor Storage
Hey there, fellow DIY enthusiasts! So you're thinking about building a lean-to shed? Smart move! They're incredibly versatile, relatively inexpensive, and a fantastic way to add some much-needed storage space to your property. Whether you need somewhere to stash garden tools, store firewood, or just keep your outdoor furniture safe from the elements, a lean-to shed is a perfect solution. And the best part? It's totally doable, even if you're not a seasoned builder. Let's dive into how to build your own!Planning Your Lean-To Shed: The Foundation of Success
Before you even think about grabbing a hammer, proper planning is key. Rushing this stage will only lead to headaches later on. Trust me, I've been there!Choosing the Right Location
First things first: where will your lean-to live? Consider these factors:
- Proximity to your house or other buildings: This makes it easier to run electricity or plumbing (if needed) and provides some shelter from the wind.
- Level ground: A flat surface is crucial for a stable structure. You might need to do some leveling with gravel or compacted dirt.
- Sunlight and shade: Think about the amount of sun exposure you want. Too much direct sun can heat up the shed quickly, while too much shade might lead to dampness.
- Access: Make sure you have easy access to the area for construction and future use. You'll need space to maneuver materials.
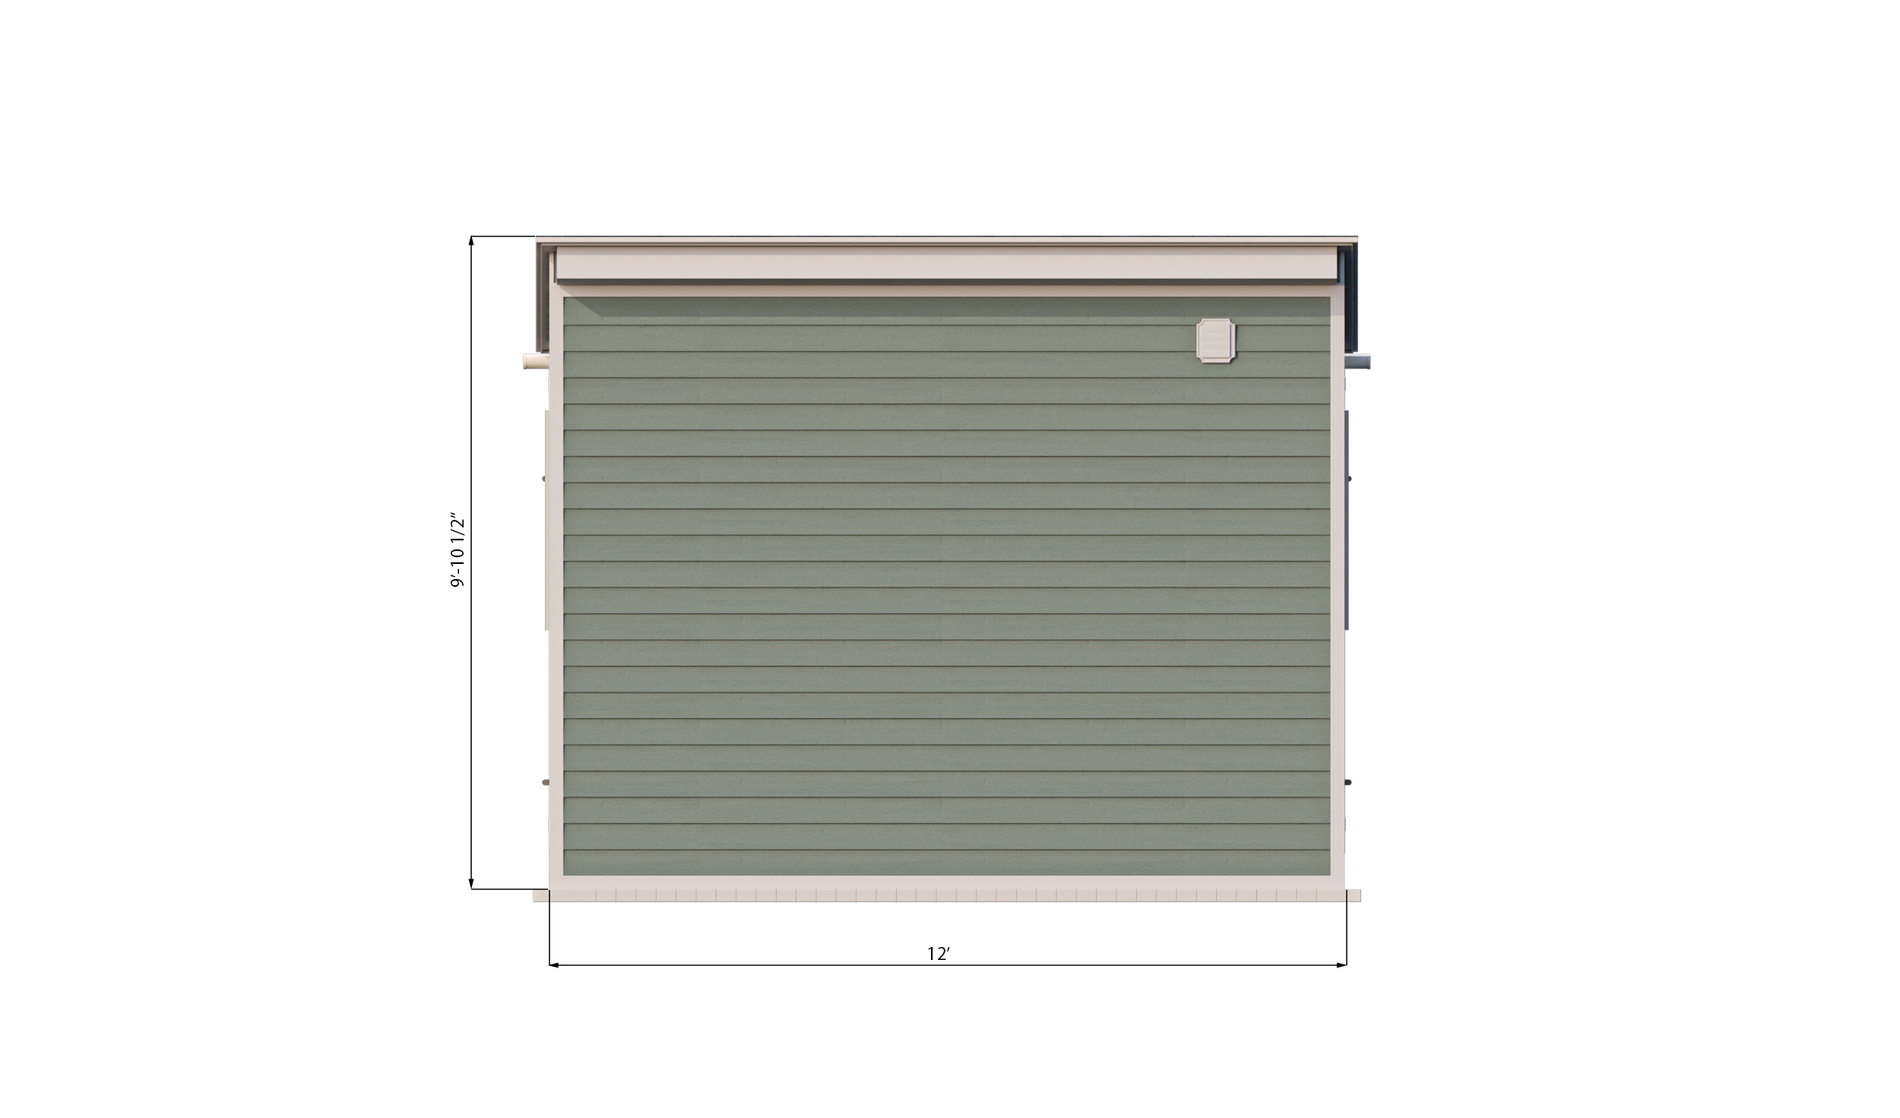
Determining the Size and Dimensions
How much stuff do you need to store? This dictates the size of your lean-to. Start by measuring the items you plan to keep inside. Add a little extra space for maneuvering. Remember, a smaller shed is easier and cheaper to build. Don't feel pressured to make it gigantic unless you truly need it.
Materials List: Gathering Your Arsenal
This list is a guideline; adjust it based on your specific lean-to design and local material prices.
- Pressure-treated lumber: For the frame, this will resist rot and insects.
- Plywood or OSB (Oriented Strand Board): For the walls and roof.
- Roofing material: Asphalt shingles, metal roofing, or even heavy-duty plastic sheeting are all options. Consider your budget and climate.
- Concrete blocks or a gravel base: For the foundation (optional, but highly recommended).
- Nails, screws, and other fasteners: Get a variety of sizes.
- Measuring tape, level, saw, hammer, drill, etc.: Gather your basic tools.
- Safety glasses and work gloves: Safety first!
Building Your Lean-To Shed: A Step-by-Step Guide
Now for the fun part â€" actually building the thing! Remember, take your time and don't be afraid to ask for help if needed.Laying the Foundation
A solid foundation prevents settling and rot. I highly recommend it! If you opt for a concrete block foundation, lay them out level, ensuring your lean-to is square. A gravel base is a simpler alternative; spread gravel evenly and compact it. The foundation should be slightly larger than the footprint of your lean-to.
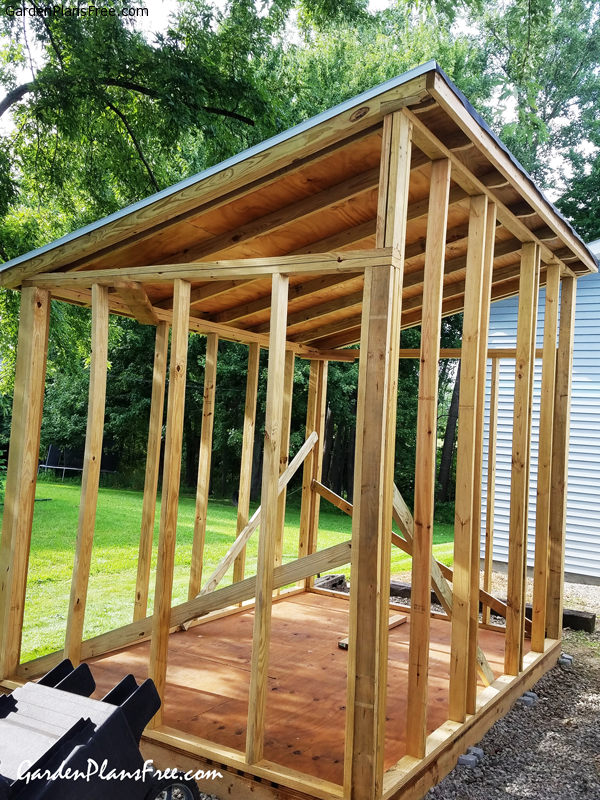
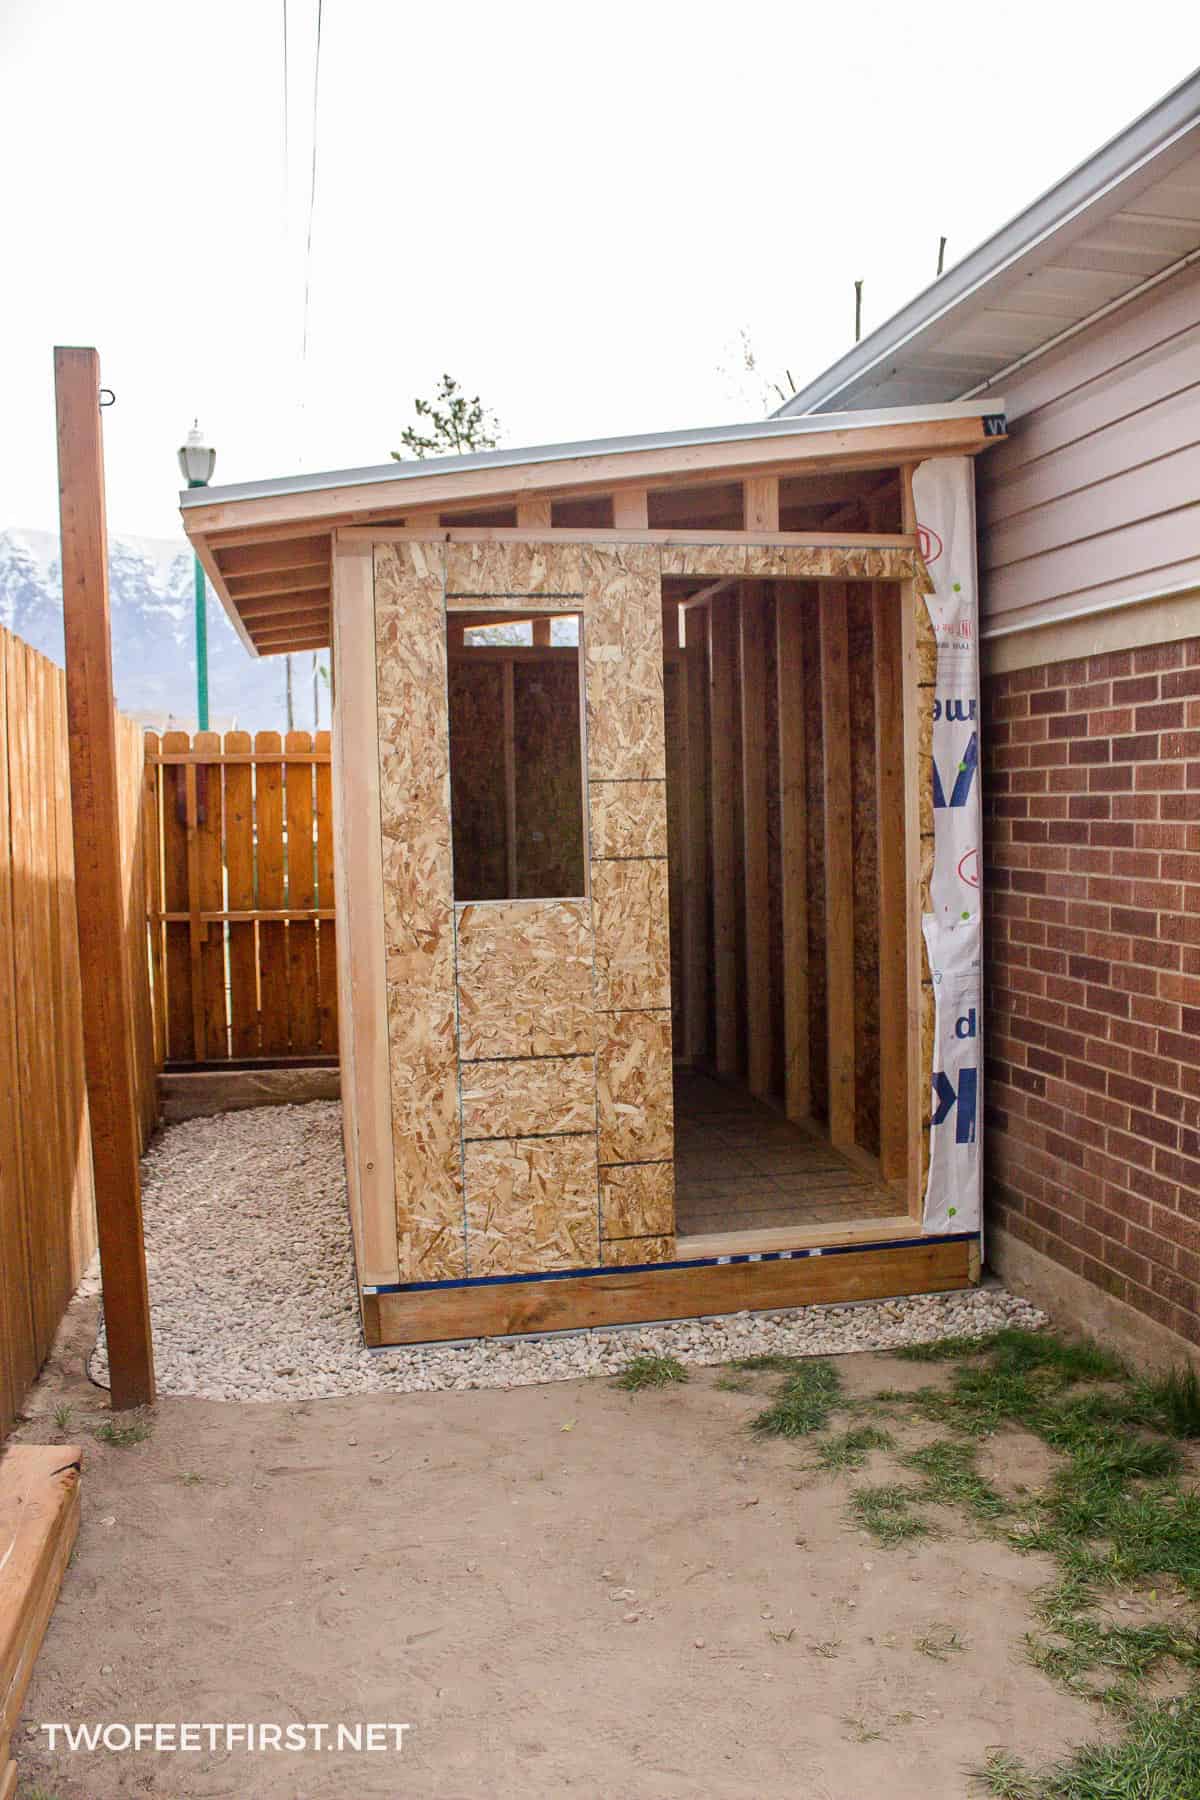
Framing the Walls
Build the frame using pressure-treated lumber. Construct the side walls first, making sure they’re plumb (perfectly vertical). If you're attaching the lean-to to an existing structure, ensure it's securely fastened.
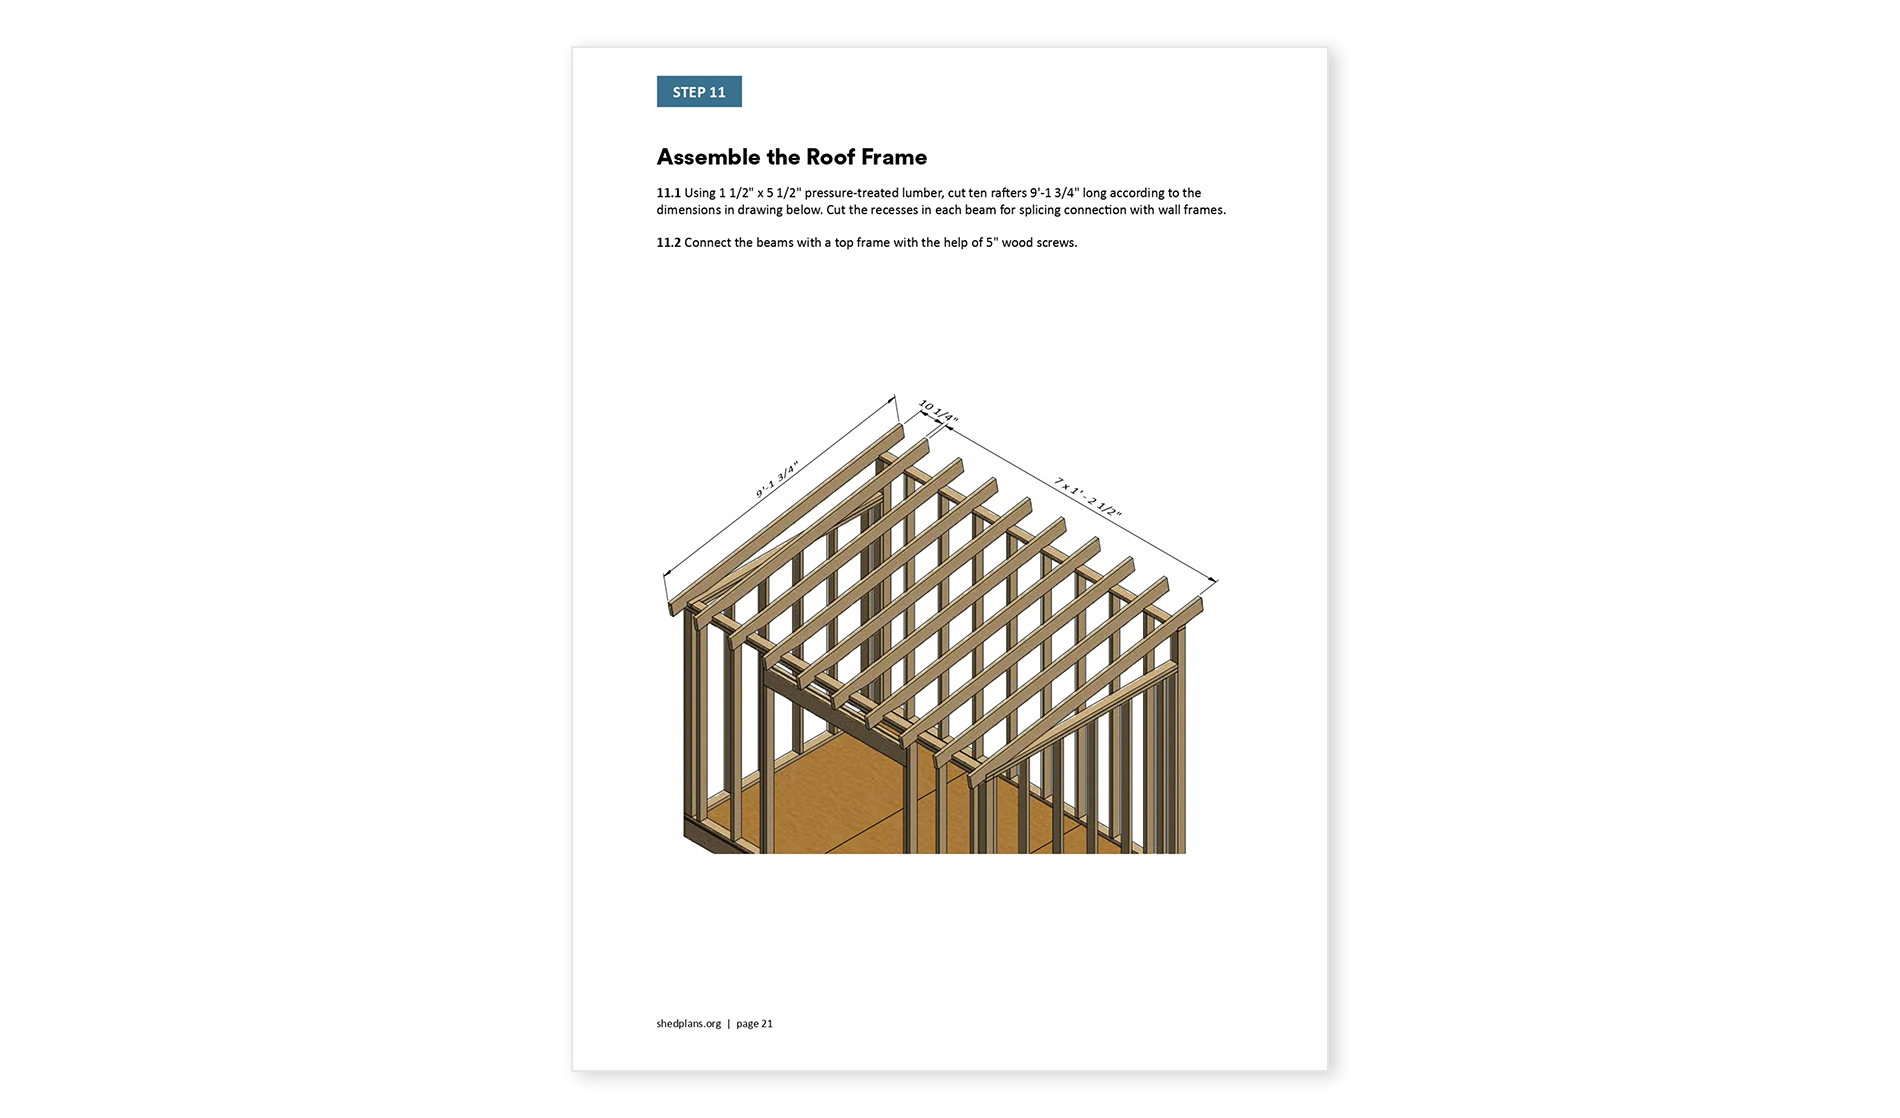
Constructing the Roof
The roof is the most important part of protecting your belongings from the weather. The simplest design is a single-slope roof, which is what most lean-tos use. You'll need rafters that are long enough to provide sufficient overhang to prevent rain from splashing on the sides. Secure the rafters to the top of the walls and add sheathing (plywood or OSB).
Adding the Roofing Material
Now you get to cover your roof! Whether you choose asphalt shingles, metal roofing, or another material, follow the manufacturer's instructions carefully. Make sure all seams are properly sealed to prevent leaks. You'll thank yourself later!
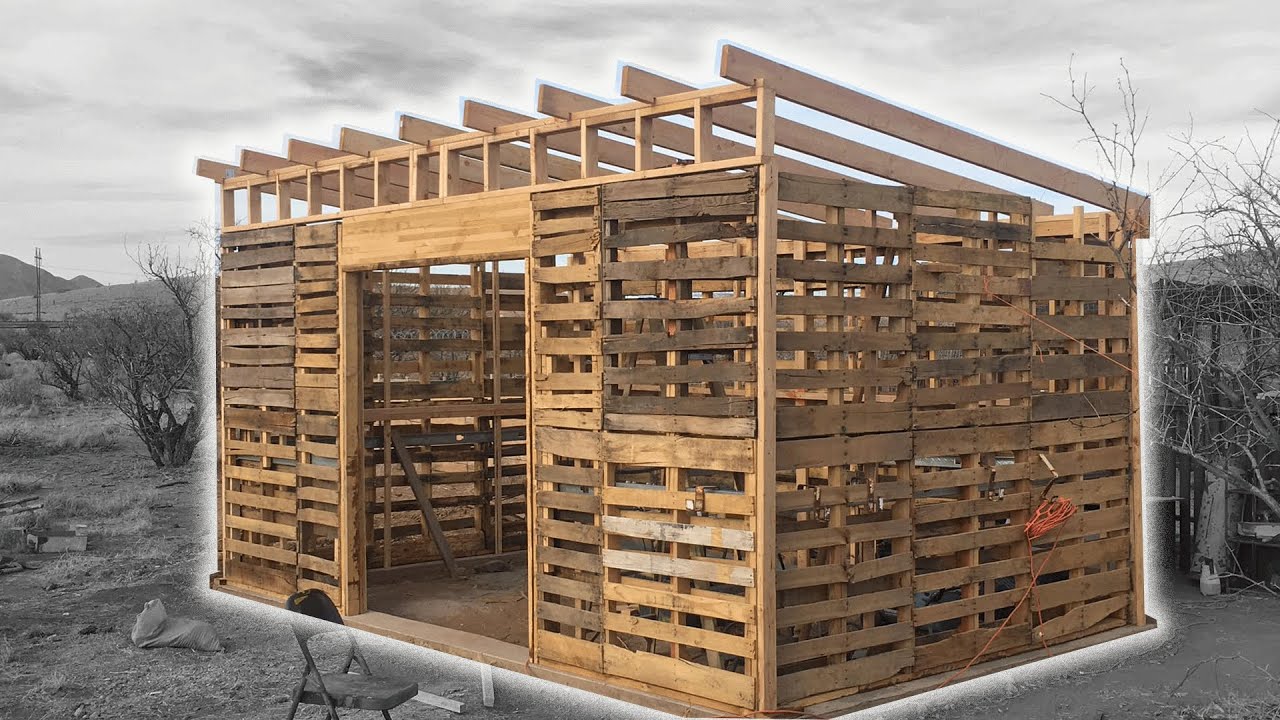
Siding and Finishing Touches
Once the roof is on, add your siding material (plywood, OSB, or even reclaimed wood for a rustic look). This adds a clean aesthetic and further protects your stored items. Consider adding a door, windows (for ventilation), and even paint or stain for extra protection and personalization.
Tips for Success
Here are a few extra pointers to make your lean-to project even smoother:
- Check your local building codes: Before you start, confirm any regulations regarding sheds in your area. This can save you a lot of hassle down the line.
- Work with a friend: Having an extra pair of hands makes the job much easier and faster.
- Take breaks: Don't try to do everything in one day. It's better to take your time and ensure everything is done correctly.
- Clean up regularly: Keep your workspace tidy to avoid accidents.
- Have fun! Building a lean-to shed is a rewarding experience. Enjoy the process!
Frequently Asked Questions (FAQ)
Here are some questions people often ask about building lean-to sheds:
Q: How much does it cost to build a lean-to shed?
A: The cost varies widely depending on size, materials, and your location. You can build a basic lean-to for a few hundred dollars, but more elaborate designs can cost significantly more.
Q: How long does it take to build a lean-to shed?
A: Depending on your experience and the complexity of the design, it could take a weekend to a couple of weeks.
Q: Do I need a permit to build a lean-to shed?
A: Building codes vary by location. Check with your local authorities to determine whether a permit is required.
Q: Can I build a lean-to shed myself, even if I'm not a skilled builder?
A: Absolutely! Lean-to sheds are relatively simple structures. With a little patience and the right instructions, you can do it.
Q: What kind of foundation is best for a lean-to shed?
A: A concrete block foundation or a compacted gravel base are both excellent choices. They offer good stability and prevent rot.
Q: What type of wood should I use?
A: Pressure-treated lumber is highly recommended for its durability and resistance to rot and insects.
I hope this guide has given you the confidence to build your own lean-to shed! Remember, it's a great project to improve your property and skills, and it’s more achievable than you might think. Happy building!